I'm delighted and a more than a little excited to announce that my new eBook "The Perfect Shutter" has just been launched! Published by the wonderful team at Craft & Vision, the Perfect Shutter is a book about the creative use of shutter speeds in landscape photography. You can buy it on the C&V website by clicking this link.
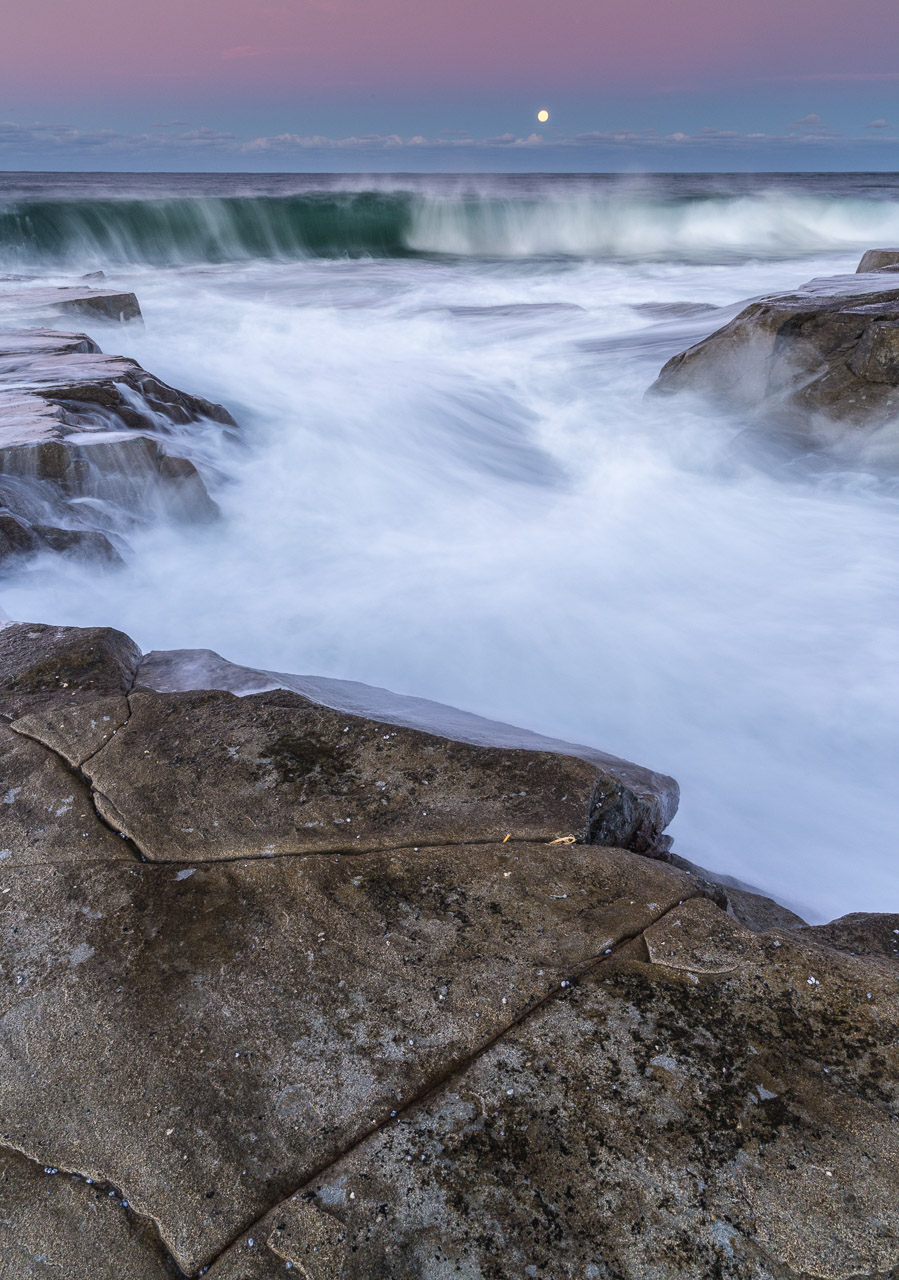
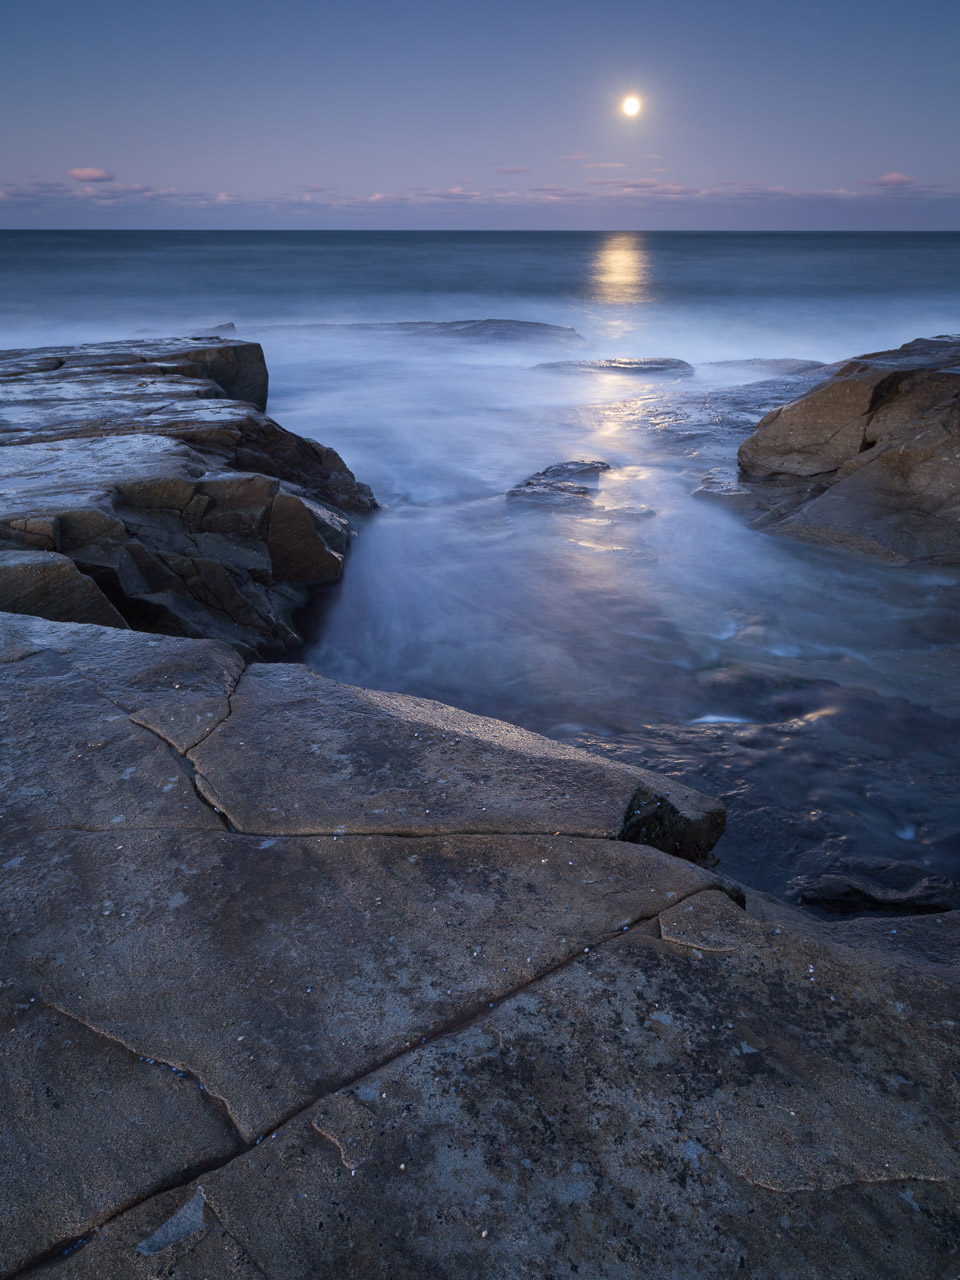
It's been a number of years now since I first started experimenting with different shutter speeds to create different effects and moods in a photograph. Most often by the sea, but also by rivers and waterfalls, and occasionally sky and vegetation, I'm fascinated by how the passage of time - the 4th dimension - can play a part in an image. It seems strange that you can depict something you can neither see nor touch in a single still photograph, but there it is.
In the book I talk about the different tools and techniques for achieving different effects via shutter speed, with an overarching theme of using such knowledge intentionally to best realise your own vision. David duChemin describes the book as follows:
“I believe that every photograph has a ‘perfect shutter’—that magical sweet spot where the depiction of motion within the photograph best conveys the intended vision and emotion.” – Duncan Fawkes
I’m excited to introduce The Perfect Shutter from landscape photographer Duncan Fawkes. Duncan has a body of work that so impressed me that I was thrilled when he said he’d share his knowledge in an eBook for us.
In 180 big, beautiful spreads, Duncan shows you how to refine your vision by putting technique into practice, adding stronger mood and intention to your photographs by sharing his knowledge of the basic fundamentals, tools, gear, visualization, techniques, and subjects, before expanding into more advanced topics such as deciphering ND filter numbers, panning, intentional camera movement, and blending exposures. In his “Making the Image” section, Duncan includes 10 photographs that walk you through the how and the why of his personal choices in creating those images.
Whether you want to photograph silky waterfalls, energetic waves, the sky, or even the wind, The Perfect Shutter leads you to find your perfect place to creatively capture the landscape as you experience it. Nature renews itself every morning: reframe how you see it.
Download your copy before 11:59 PM (PST) on June 15 for just $6.00 (a 25% savings). Learn more.
For the Love of the Photograph, - David duChemin
If you'd like to read my book it is available from the Craft & Vision website. Better yet it's discounted from $8 to $6 (25% off) until June 15th, so go grab a bargain!
And if you're into bargain hunting they also have a bundle deal with the hugely talented Michael Fyre's Exposure (which I also have and recommend) for an additional 20% off - both books for only $8.80. You can get them both here.
Timed with the book release I sat down with Jeffery Saddoris to discuss my photography on the C&V podcast. If you're interested in hearing my thoughts (and a lot of umms and ahhs!) then you can listen to it here.
On a personal note, the release of this book is quite obviously a huge highlight for me. Not only does it represent years of work - and the usual cliches of blood, sweat and tears - but also it's a real honour to be featured by Craft & Vision. Regular readers will know how David duChemin through his blog, photography and Craft & Vision were instrumental on helping me onto the right path artistically at the start of my photographic journey. In a sense things have come full circle and I'm so very grateful to contribute back to C&V and its readers, of which I've been one all of these years. I'm very grateful to David and the team for the opportunity and their belief in me. I think the final product looks amazing and I'm very happy with it.
I am grateful to and humbled by those of you who have supported and encouraged me all these years. To have people interested and engaged with your work is truly one of the greatest gifts to an artist. I thank you.

Buy it now for only $6.